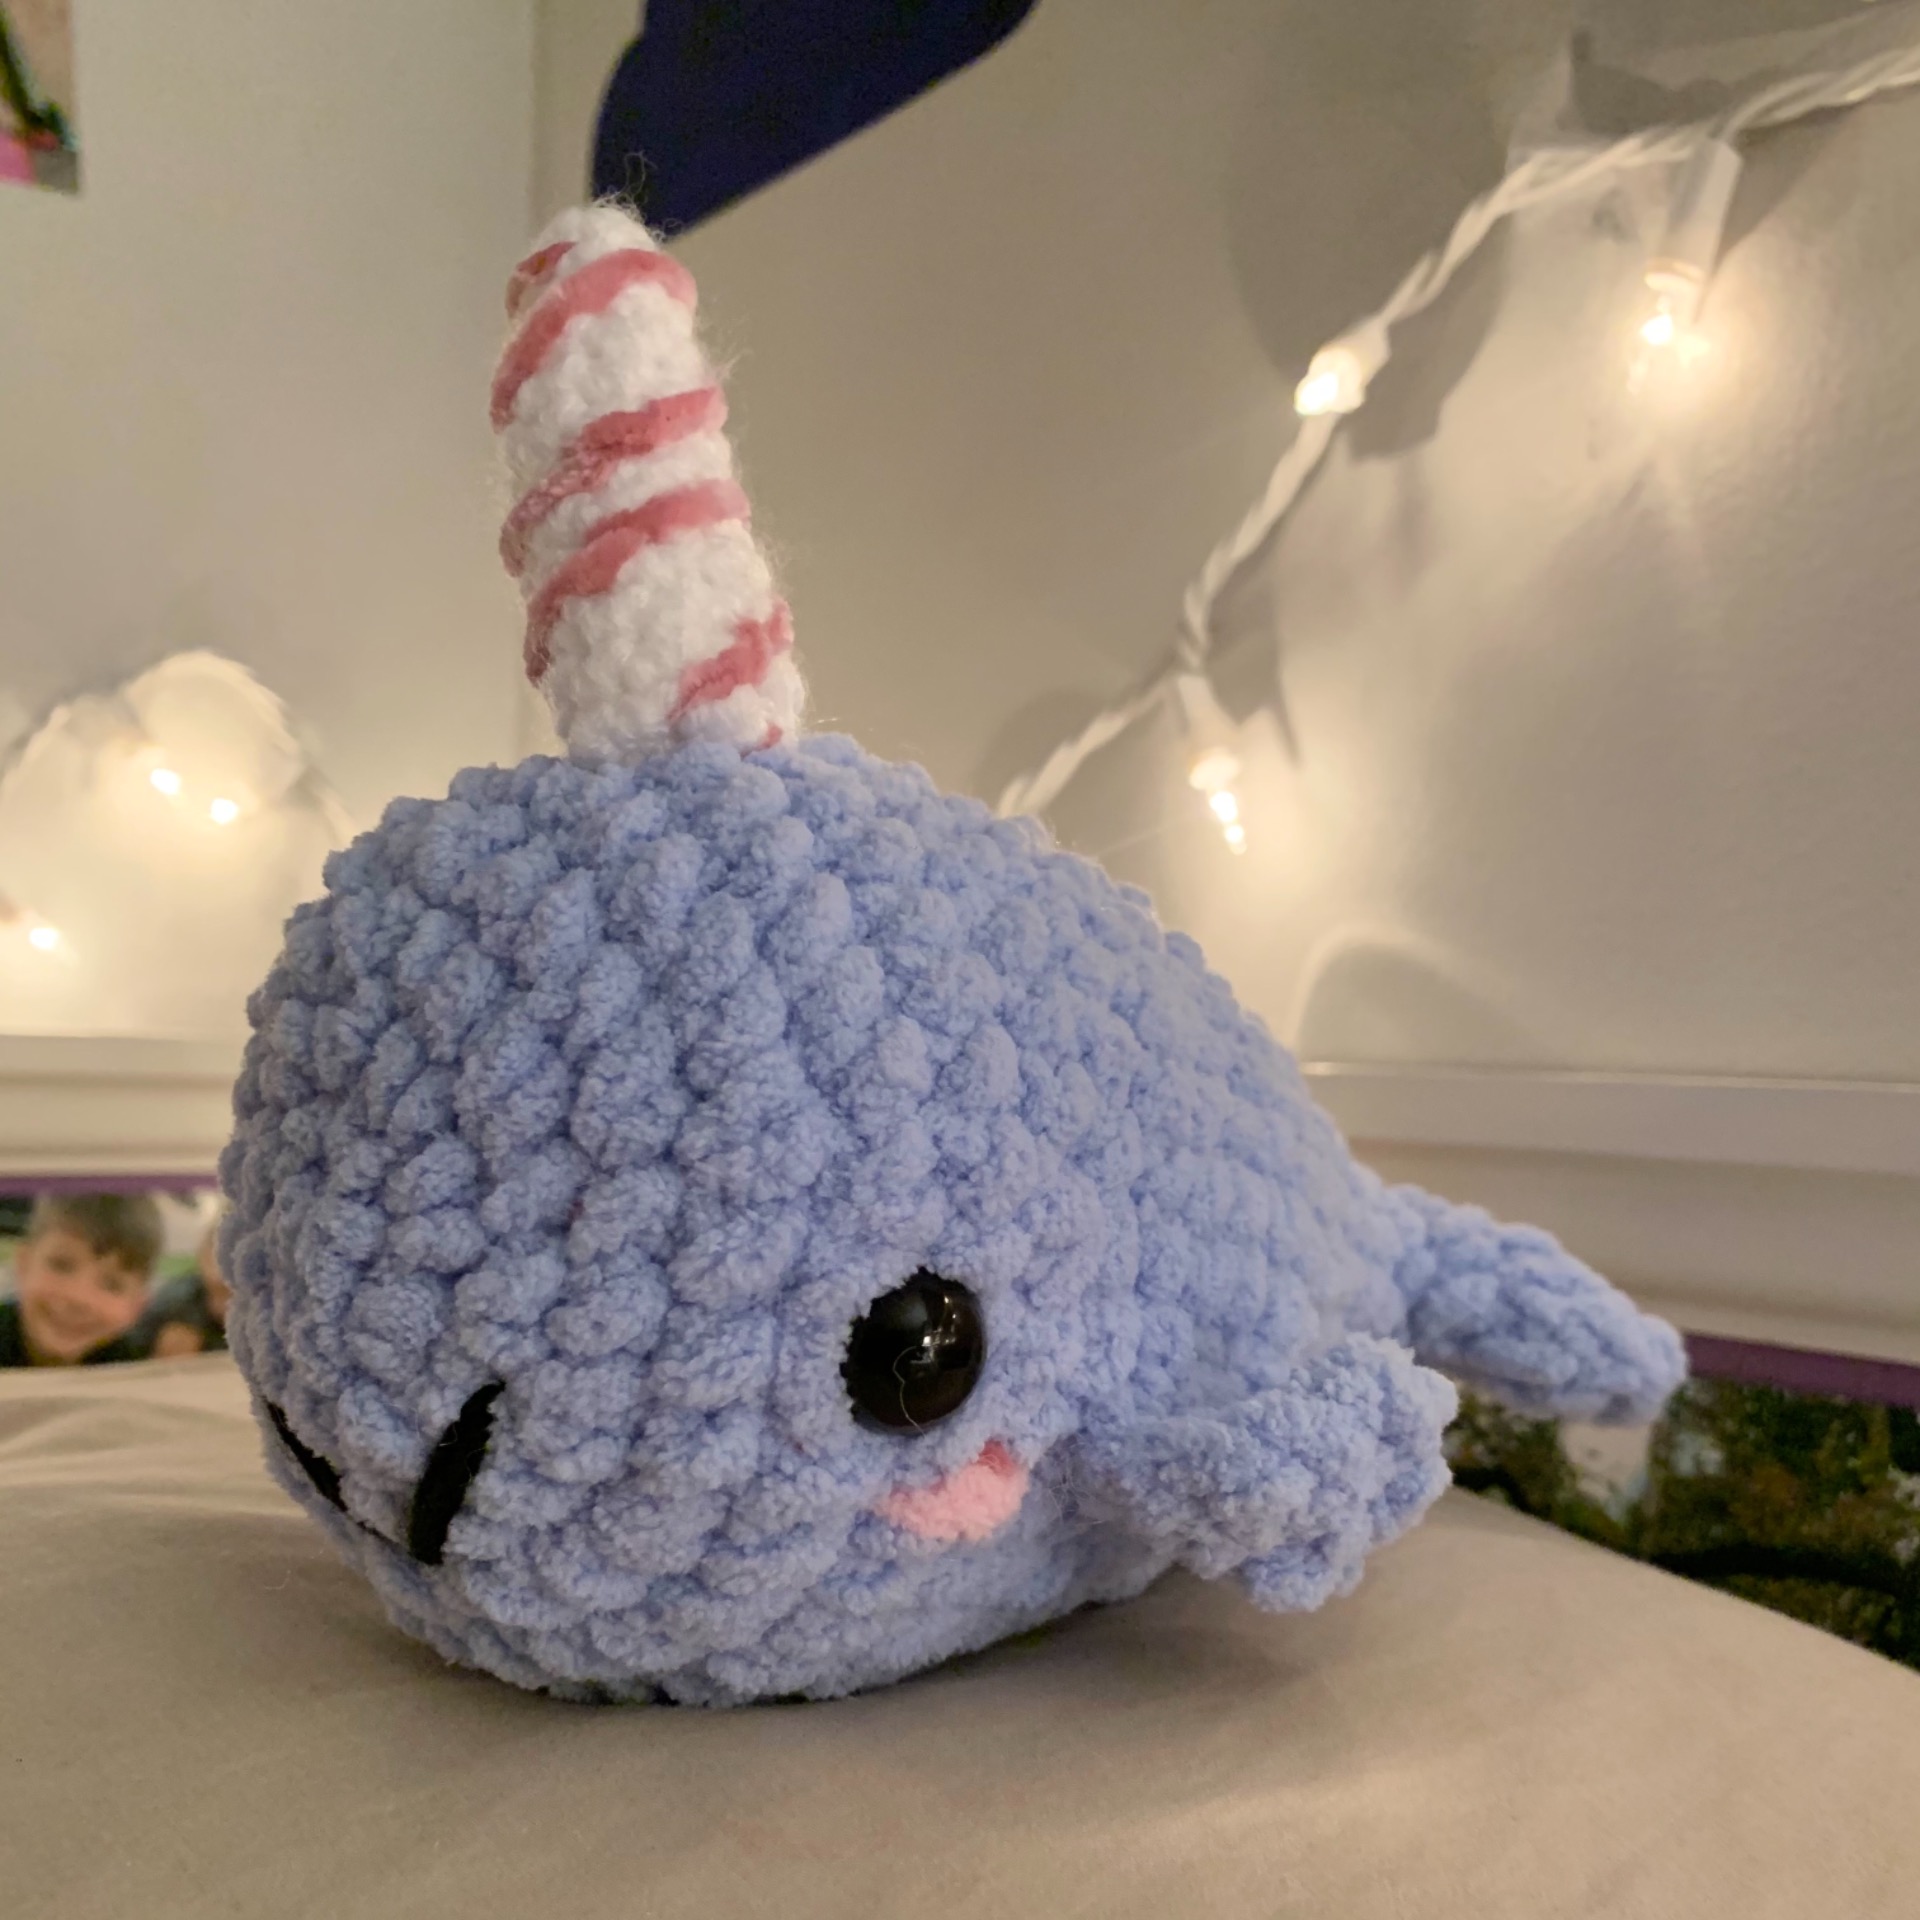
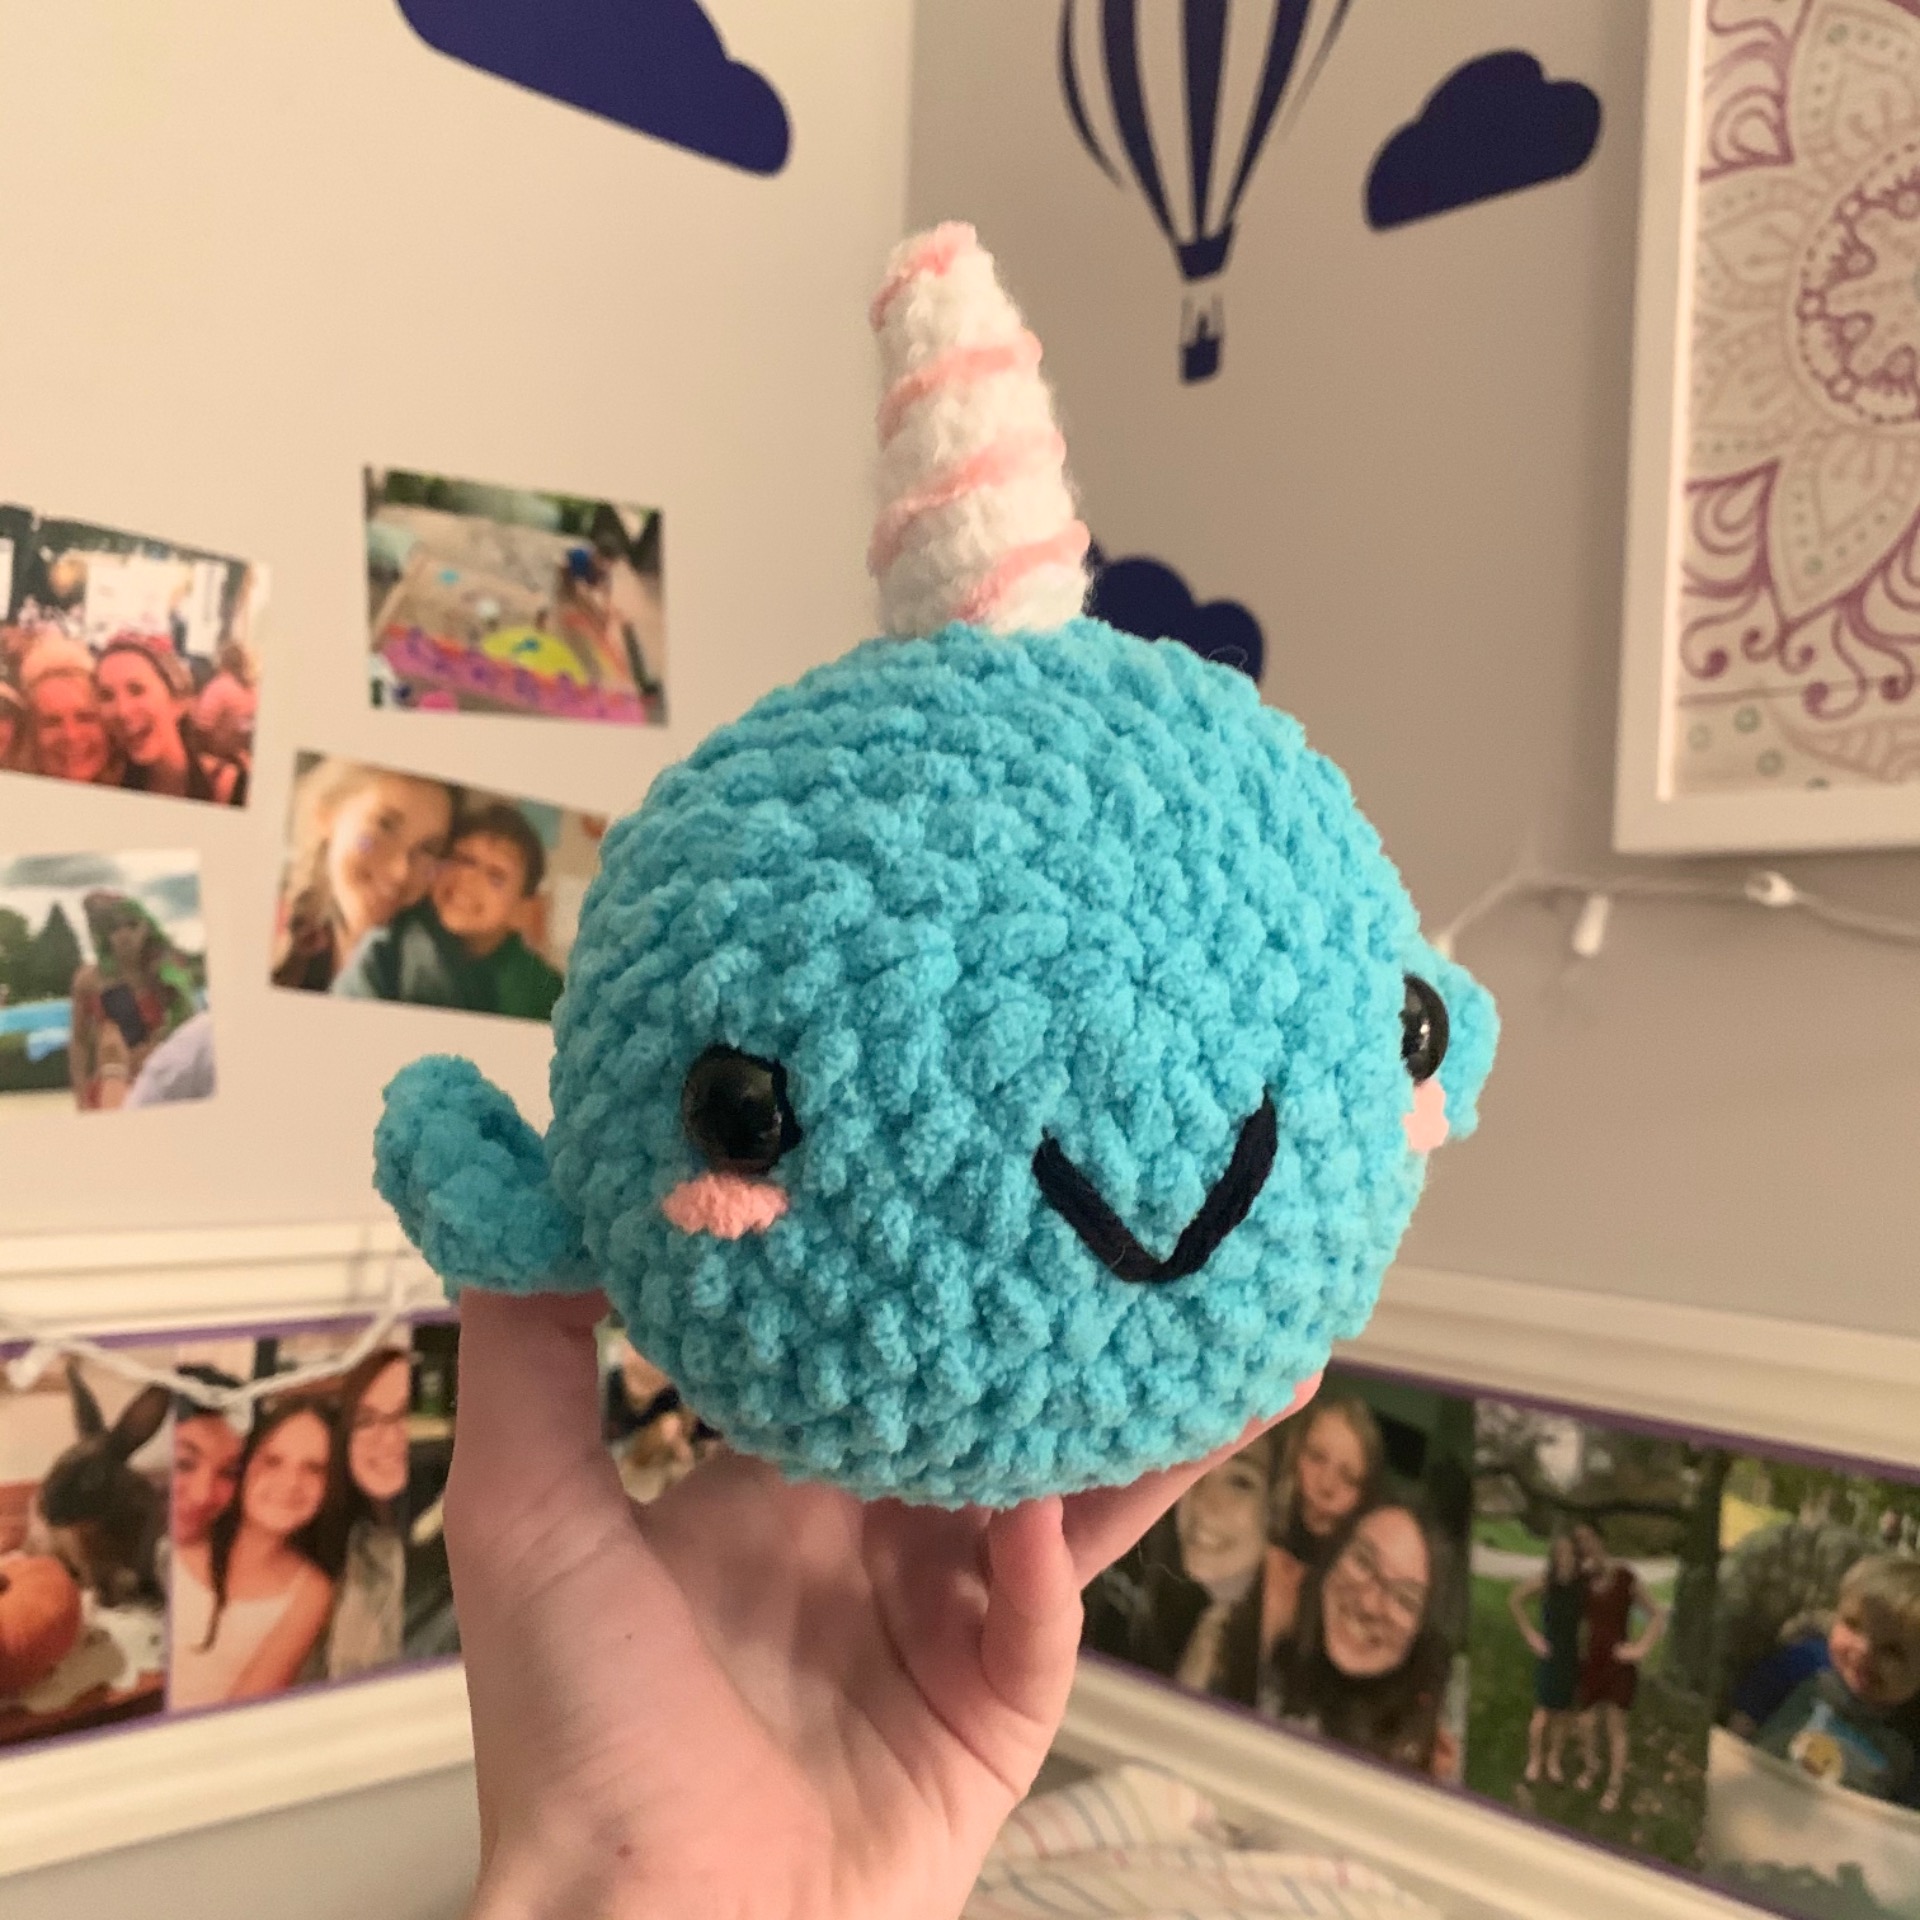
Free Crochet Narwhal Pattern
I am so excited to share with you all a brand new pattern!
This fluffy narwhal was made with bernat blanket yarn, but can certainly be made in others as well!
So, lets get started!!

Body- in main color
1: Sc 6 in mc (6)
2: inc in each st around (12)
3:*sc 1 in next st, inc in next*repeat (18)
4: *sc in next 2 sts, inc in next* repeat (24)
5: *sc in next 3 sts, inc in next* repeat (30)
6: *sc in next 4 sts, inc in next* repeat (36)
7: *sc in next 5 st, inc in next* repeat (42)
Now just a warning, things are going to get a little bit hectic in the rest of the rows for the body, so make sure you are keeping track of where you are in the pattern!
8: sc in next 3 sts, dec, sc in next 8 sts, dec, sc in next 25 sts, dec (39)
9: sc in each st around (39)
10: sc in next 16 sts, dec, sc in next 7 sts, dec, sc in next 12 sts (37)
11: sc in next 10 sts, dec, sc in next 25 sts (36)
12: sc in each st around (36)
13: sc in next 2 sts, dec, sc in next 4 sts, dec, sc in next 12 sts, dec, sc in next 4 sts, dec, sc in next 6 sts (32)
At this point I inserted my safety eyes- you'll want to make sure that the TOP of your narwhal is the side where we did most of the decreases (see image below)

Once the safety eyes are inserted, you can begin stuffing periodically as you continue on!
14: sc in each st around (32)
15: sc in next 5 sts, dec, sc in next 7 sts, dec, sc in next 7 sts, dec, sc in next 7 sts
16: sc in next 7 sts, dec, sc in next 4 sts, dec, sc in next 4 sts, dec, sc in next 4 sts, dec, sc in next 3 sts (26)
17: sc in next 6 sts, dec, sc in next 10 sts, dec, sc in next 3 sts, dec sc in next 2 sts (23)
18: sc in each st around (23)
19: sc in next 5 sts, dec, sc in next 8 sts, dec, sc in next 6 sts (21)
20: *sc in next 3 sts, dec* repeat 2 MORE times (3 dec total), sc in next 6 sts (18)
At this point we will begin forming the tail.
21: sc in next 2 sts, inc, x2 inc in next st, sc in next 3 sts, dec, sc in next 2 sts, x2 inc in next st, inc, sc in next 5 sts (23)
22: sc in next st, *inc in each of the next 5 sts, sc in next 6* repeat this 1 MORE time (33)
23: sc in next 2 sts, *hdc inc in next st, dc inc in next 3 sts, hdc inc in next st, sc in next 9 sts* repeat 1 MORE time, sc in next 3 sts
24: sc in next 5 sts, ch 1 (do NOT fasten off, we will be continuing on with this same yarn)
You will now fold the tail in half, as pictured below, and crochet the 2 sides of the tail together)

25: [with tail folded in half and working across]
hdc in next 5 sts, sc in next 3 sts, sl st in next 3 sts, sc in next 3 sts, hdc in next 5 sts, sl st into SAME stitch as the last and fasten off, leaving a tail long enough for sewing.
Fins: (make 2) (in same color as body)
1: sc 6 in mc (6)
2: inc in each st around (12)
3: ch 1, sc in the SAME st as the last, sl st in next 4 sts and fasten off, leaving a tail long enough for sewing
[the ch 1 and repeat sc are to create a kind of "point" which will be the outward corner of your fin!]
Horn: (make 1) (in different color yarn, I choose white!)
(It should also be noted that I chose to use regular sized yarn for the horn)
1: sc 3 in mr (3)
2: sc in next st, inc, sc in next st (4)
3: sc in next 3 sts, inc (5)
4: sc in next 2 sts, inc, sc in next 2 sts (6)
5: sc in next 4 sts, inc, sc in next st (7)
6: sc in each st around (7)
7: sc in next 3 sts, inc, sc in next 3 sts (8)
8: sc in next 4 sts, inc, sc in next 3 sts (9)
9: sc in next 3 sts, inc, sc in next 5 sts (10)
10: *sc in next 4 sts, inc* repeat once more(12)
11: sc in next st around (12)
12: *sc in next 5 sts, inc* repeat once more(14)
13: sc in each st around (14)
Fasten off, leaving a tail long enough for sewing

Assembly:
Now I am certainly not the best at describing exact locations of where the attach different pieces, but obviously you will want to attach the horn on the TOP half of the narwhal, as described previously.
When attaching the fins, be sure that they are even on both sides before sewing!
Details:
I chose to add some pink features under the narwhals eyes to give a "blushing effects" and also choose to sew somewhat of a "swirl" going up his horn- you certainly do not have to make these finishing touches, but you can use my finished product for reference!
And that's it! You've got yourself a fluffy crochet narwhal! I am so excited to see all of your makes, so please tag me @crayoncrochetcritters in your finished product pictures! Happy crocheting!
xoxo Riley :)
